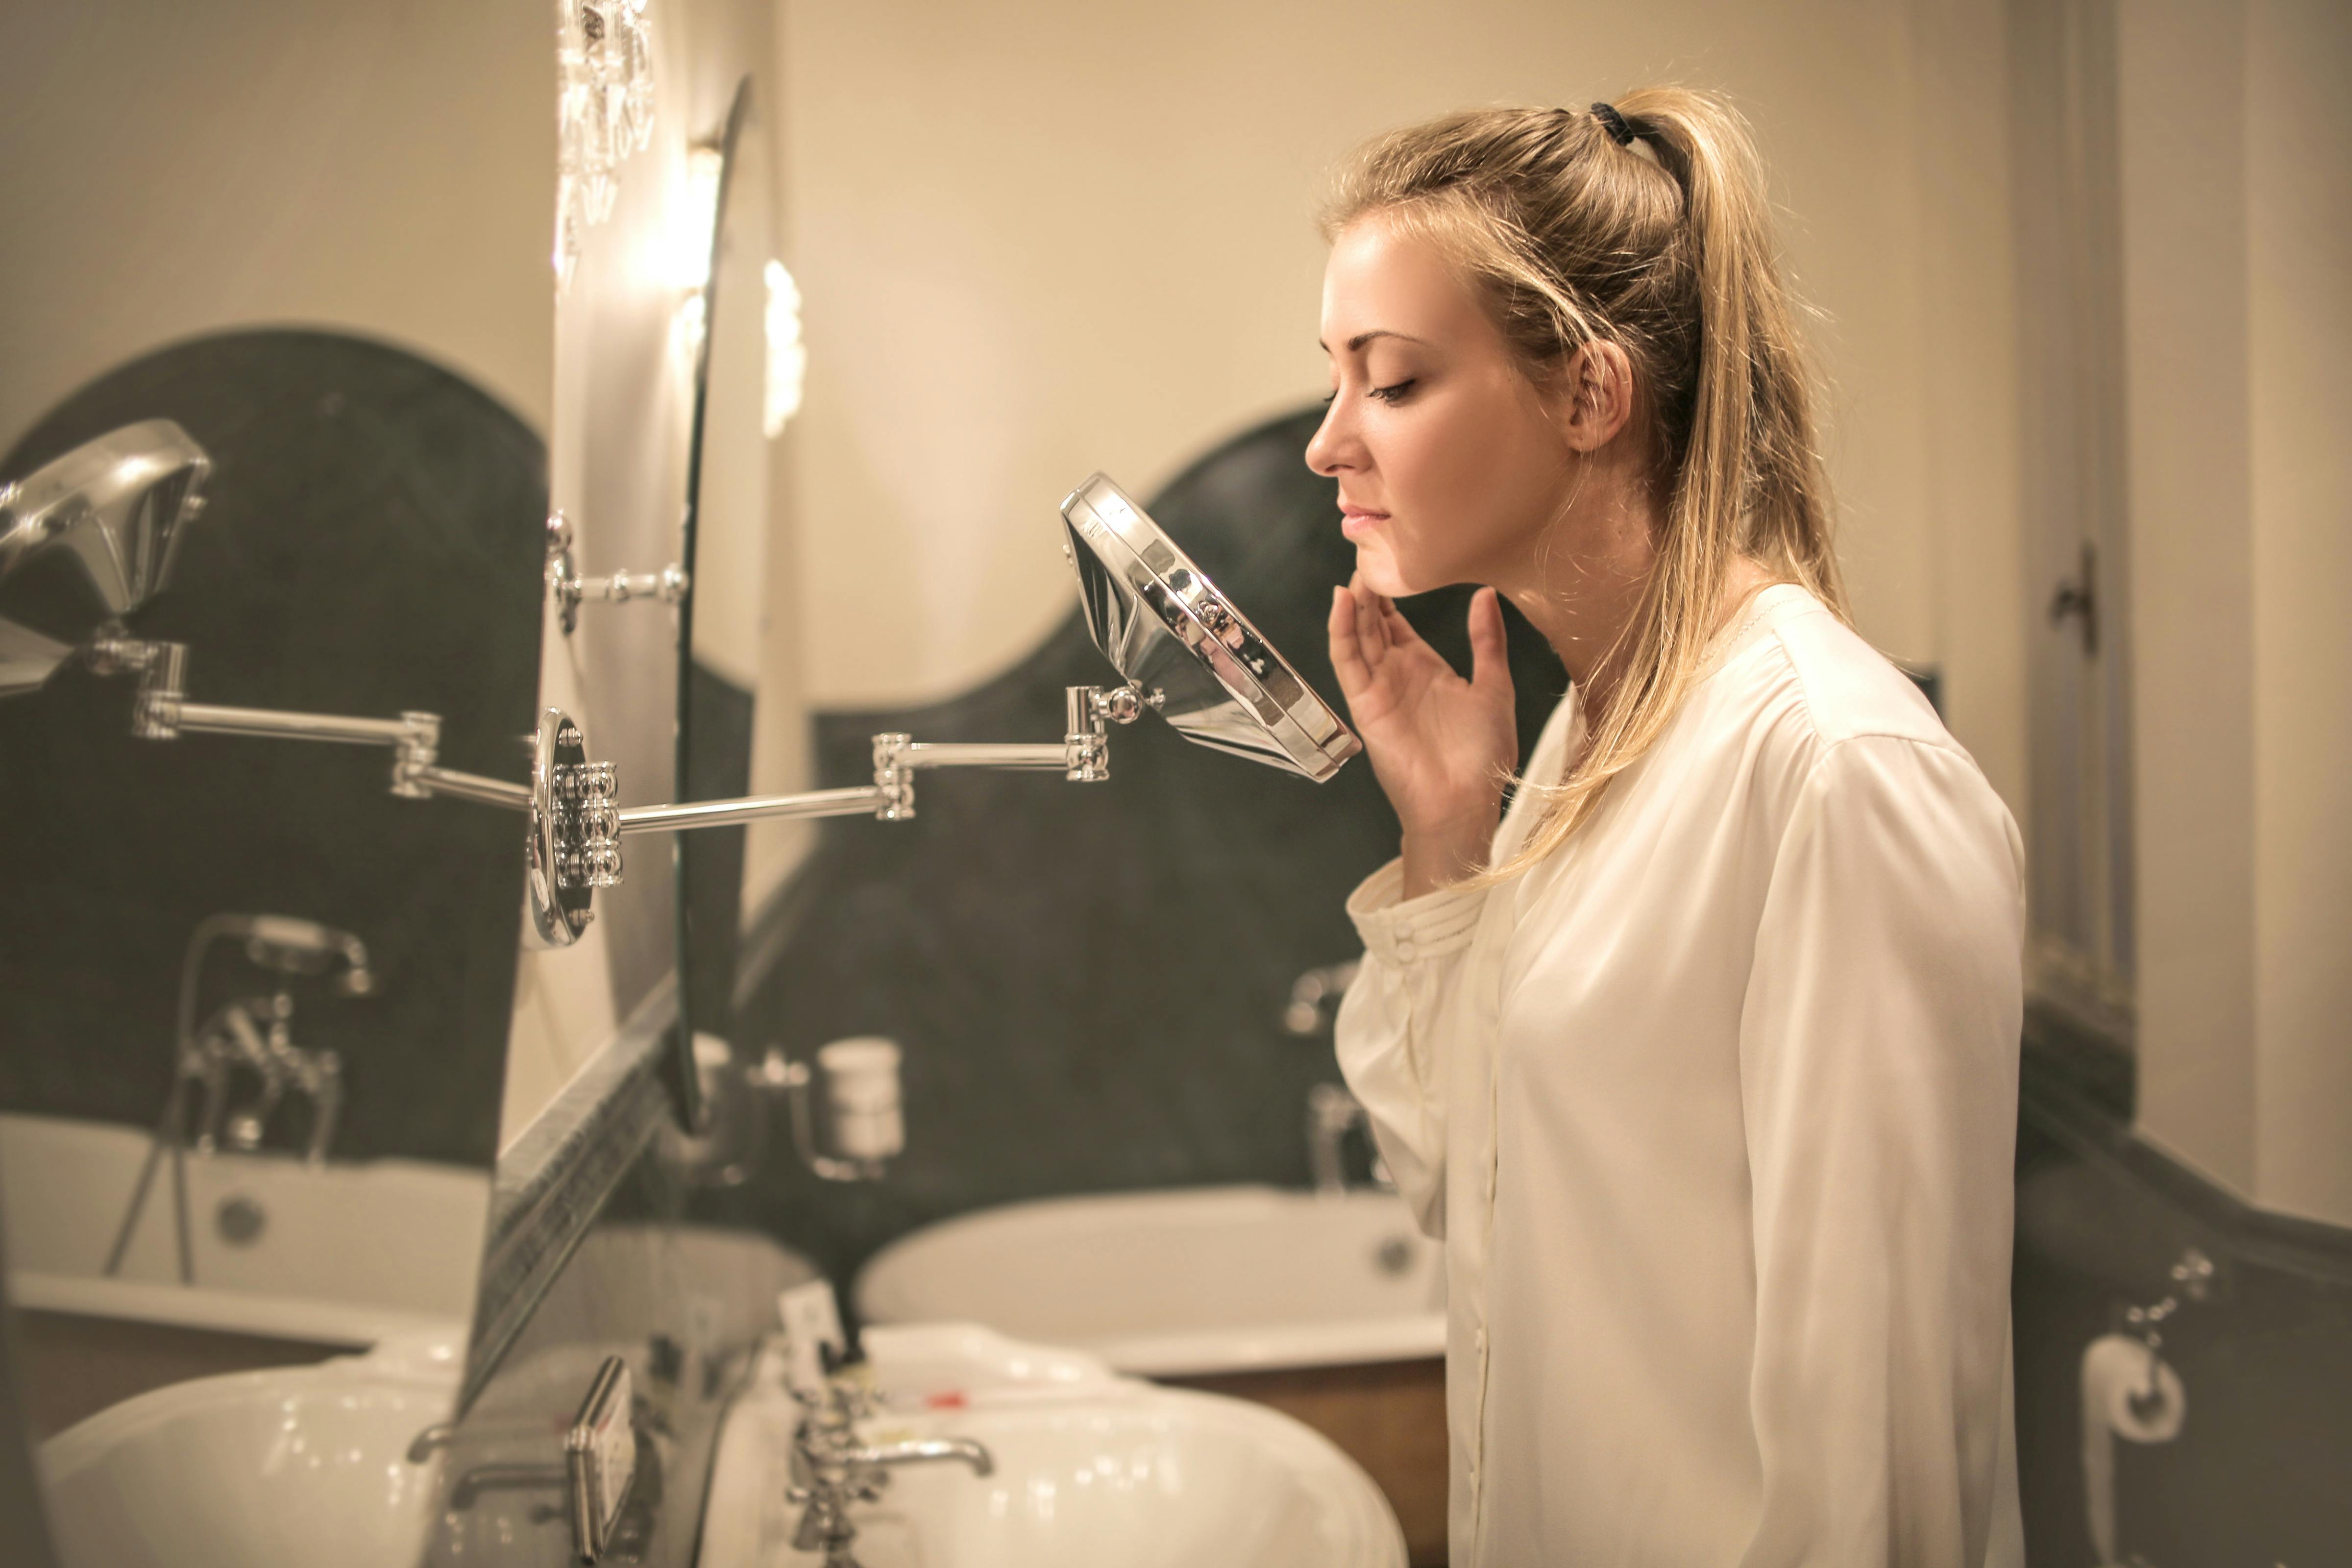
We’ll admit we (women) spend a good deal of time in our bathroom to examine our skin. Using the “magnification” side of the mirror, pulling our faces while examining our face. Often, with the intention to pick on the pimple and or banish the blackheads, if not examining our skin for the heck of it, especially blackheads since they are difficult to remove.
Have you ever wonder why they are so difficult to remove while your esthetician does it with much ease? The truth is when your skin is properly soften, it should be fairly easy to remove blackheads. To add on, if your skin is dry and dehydrated, it can make extraction difficult and or painful.
No time to visit your esthetician for a professional extraction? Fret not. According to celebrity esthetician Renee Rouleau, it is possible to remove a blackhead overnight.
For optimal results, Rouleau suggests removing blackheads immediately after showering since the skin temperature has been raised and the hardened sebum softened.
Steps to Perform Extraction
Approved -Tools: Tissues, Heavy moisturiser, x2 washcloth, Cling wrap
First: After shower, apply a layer of heavy moisturiser (oil in water) over the area you will be extracting. The purpose of the heavy moisturizer is to temporary trap the heat in the skin which is necessary for the subsequent steps.
Second: Cover the area with a plastic wrap (suggest a kitchen cling wrap) and apply a hot, damp washcloth for five minutes. Rouleau recommends to use two washcloths piled on top of each other as the one on top will be able to help the one below to retain its heat longer.
Three: Next, grab a tissue and wrap a couple over each forefinger, and gently squeeze the skin to remove blackheads or clogged pores. According to Rouleau, “The goal with squeezing is to avoid positioning the fingers too close as this won’t allow the blackhead to come out. Widen them out a bit so that the blackhead will be extracted easier from the deeper level of the skin.”
Once you have checked off all the above steps and the blackhead is especially stubborn and have yet come out after three tries, don’t continue with your attempts.
Fourth: When you’re done, clean your skin with an alcohol-free toner and then apply a cooling gel mask to calm the skin and reduce the redness.
Post-Care
The steps above for at-home blackhead removal are a safe and effective DIY way to remove clogged pores and blackheads. However, most experts would agree to leave the extraction to professionals for they are swift, more meticulous, and less painful. But when you are in a pinch or rushing for time this is the best at-home quick fixes for blackheads.
Once your pores are clean, used products containing acids, such as AHA’s and BHA’s to absorb directly into the pores and keep them cleaned out, as well as preventing the oil from filling back up so quickly. Caring Tip: Avoid acid-based products for at least 24 hours after manual extractions.
Does blackhead removal products work?
According to experts, probably not. “Most blackheads won’t attach themselves to the glues and adhesives used in many of marketed products like pore strips.”
So-what do they remove? Here’s a list
-Superficial hairs
-Sebaceous filaments (which can look like blackheads but, disappointingly, are not.
-Dry, dead skin cells
-Live skin cells (Rouleau notes: “If you’re using a prescription retinoid, retinol or taking Accutane, the skin can get very dry. As a result, a mask like this can remove the flaky, expired cells but it can also bring along the live cells that are attached to them. This could leave the skin an oozing mess and cause scabbing and scarring.”)
-Scabs leftover from picking at blemishes
Sadly, there is no way to get rid of blackheads can’t be get rid of completely. Let us know if you tried any other similar at-home extraction remedies.